

WULFF LAND
A documentary feature about the first ever crossing of Greenland from south to north and back again. A project that got me into the industry of intro title sequence making. My love for the art of the intro title sequence is incomparable to any other line of motion graphics/vfx art. This was my very first feature film I got to work on. It took a ton of hard work and pushed me to the brink of giving up. I had never tackled a beast as large as this one before. It was solely on me to make the entire intro title sequence. Luckily, I had two absolutely incredible mentors/directors Clay Croft (Director) and Zach Johaneson (Art Director).
The Final Product
PASSWORD: Fjord
THE MAKING OF:


The original idea was to look at shows like Game of Thrones and Westworld’s intro title sequences (made by the incredible Elastic Studios) and see what we could inspire from. We loved this idea of it being a paper like texture over the whole piece to give off the idea that its a map. These were the first 3 render concepts I made for the project.
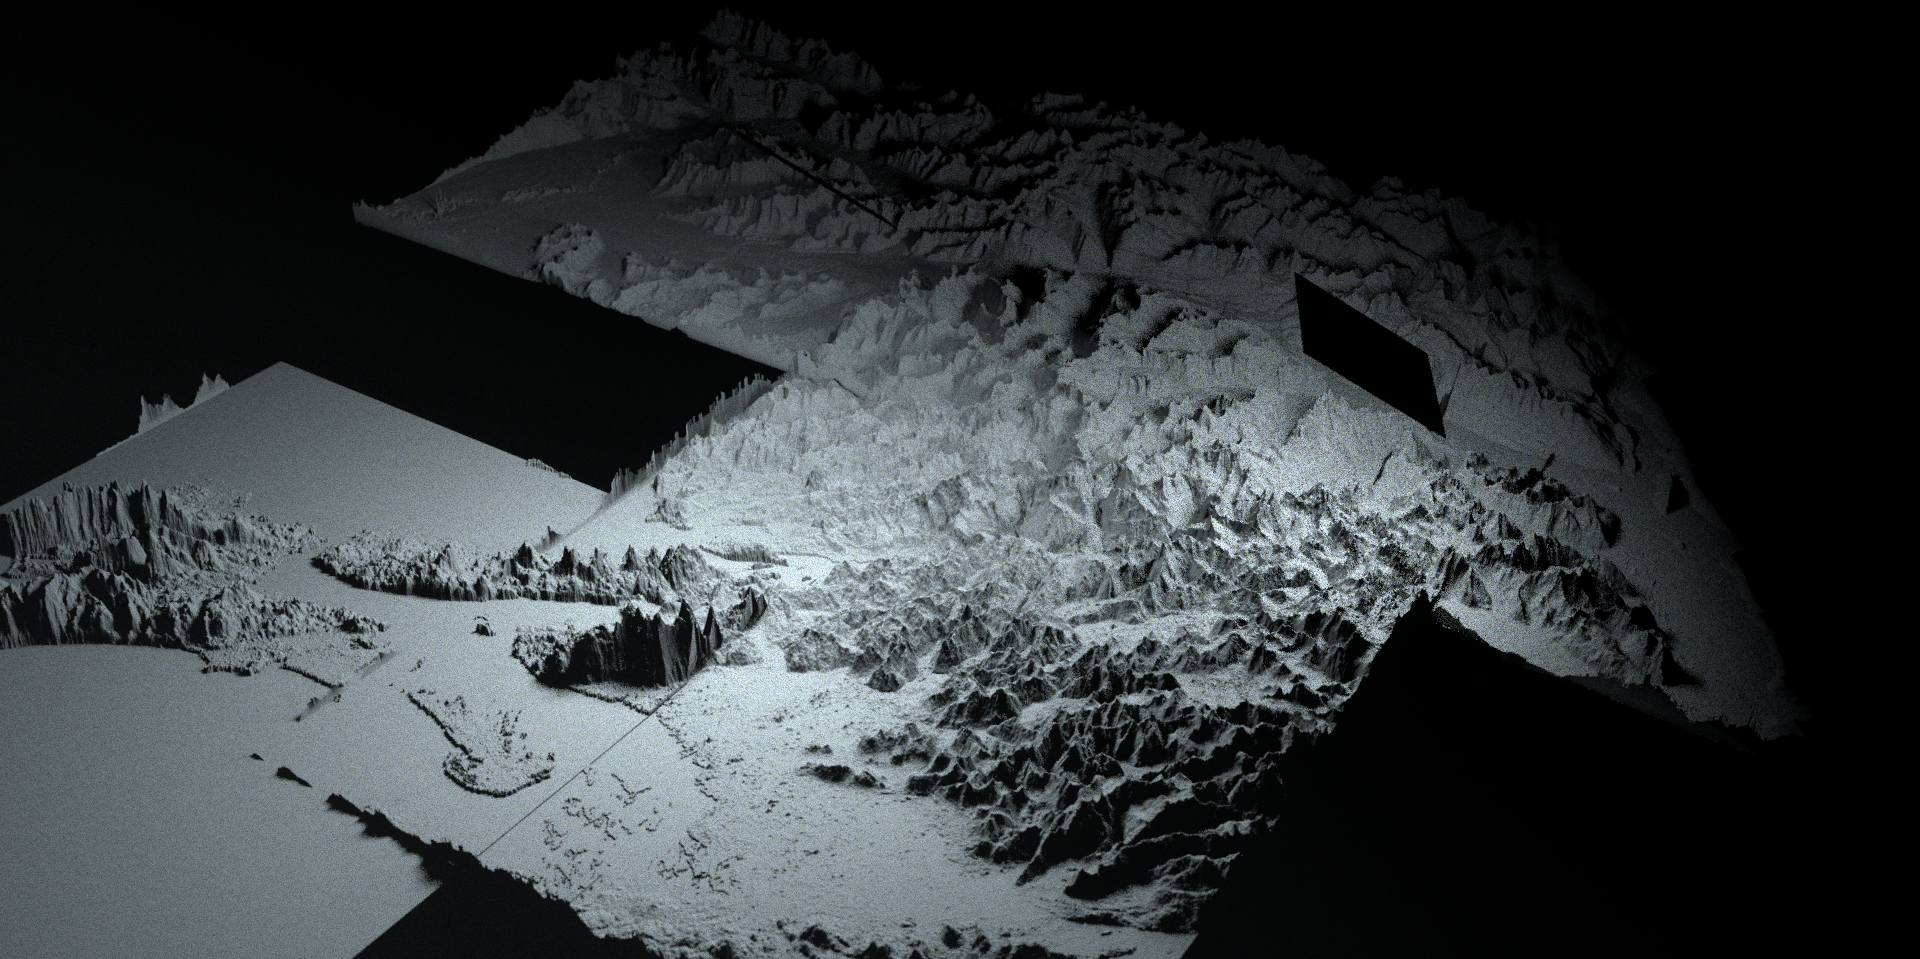
The plan was to find GIS/DEM data for Greenland. Unfortunately that is not easy. Me and Zach spent actual weeks searching the web for anything. We simply couldn’t find what we needed. So I resorted to World creator where I made these scenes from scratch:
This ice forming effect was a concept pitched for the animation of the terrain, but it was turned down due to the complexity and time it takes to make and render.


The scenes I had to make were: A Fjord, getting on the Ice Cap/Glacier, Crevasses and then Wulff Land. My reference photos were given to me as drone footage taken on the actual trip, which was perfect. Me and Zach had two ideas for the lighting/look for the overall piece. It was either going to be studio lit (west world like) or it was going to be natural lighting. We loved the ideas of light changing and moving across the piece and was definitely and idea we were going to keep in the piece. Now that the terrain was built it was time to make the ending title shot:


We tried different looks and it seemed the director really loved the natural light look so we decided to make that final. It fits the piece better. Okay time to add the 2D graphics animating across the map. How in the world do I do that? I couldn’t find anything online about doing the concept I wanted. So I problem solved. I found that Octane Render can take video files in its different channels. All I wanted was to have it in the bump(imprint effect) and in the diffuse channel. I soon realized the workflow was going to be hell. After exporting a clip and trying to match and align UV’s it looked terrible. So I took the 8k height map I made in World Creator and used that as a reference to tell where I was in After Effects. I then made my animated lines and graphics and exported in 8k. Terrible mistake. These After Effects renders took days to export and I started to fear that when I put them in that they wouldn’t align. I thought the timing would be too fast or too slow. I popped them in and they worked incredibly. I started to cry tears of joys, I felt like I cured cancer. I got to move on to my favorite part of 3D, moving the camera.
LINE WORK
This was the hardest part of the whole sequence. 16k raw After Effects video for a diffuse and bump layer (imprint effect).